About the Scripts
Access to the LucidView MikroTik Enforcer Portal will allow you to configure any MikroTik router running RouterOS to make use of the Enforcer Scripts which will give you access to our powerful Internet IP database and the feature set included i.e. content filtering, Intrusion Prevention, content-based traffic shaping and detailed reports, dashboards and traffic flow analysis flowing through your MikroTik Router.
We call such a configured MikroTik An Enforcer™.
Please note: Running the Enforcer scripts will not change your RouterOS configs.
Generating & Downloading the Enforcer Script for your MikroTik Router
Once you have created your account and logged in, you will be directed to Enforcer Management Portal Home Page. (See image below)
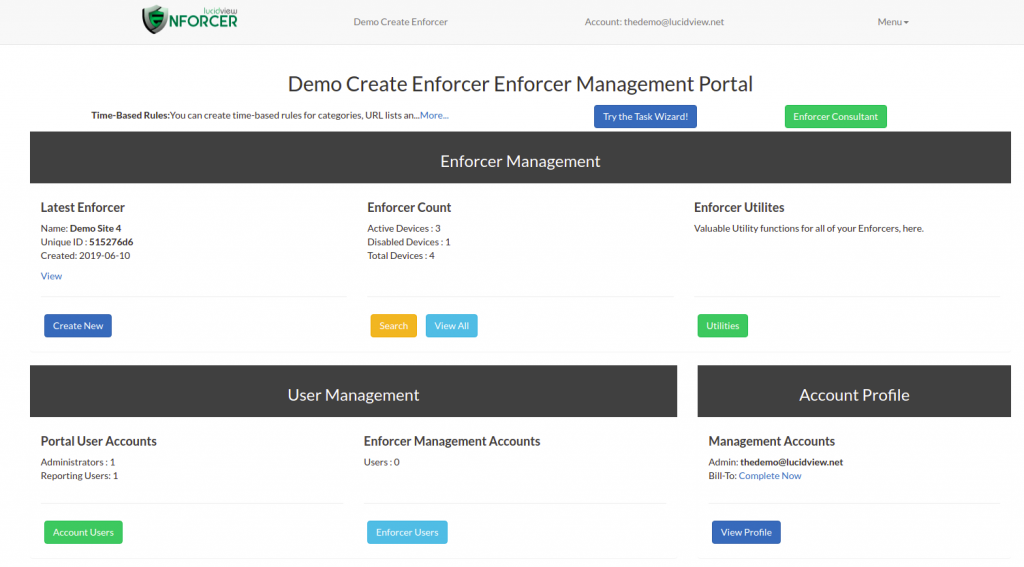
Step 1
Click on the View All button as per the image above.
Step 2
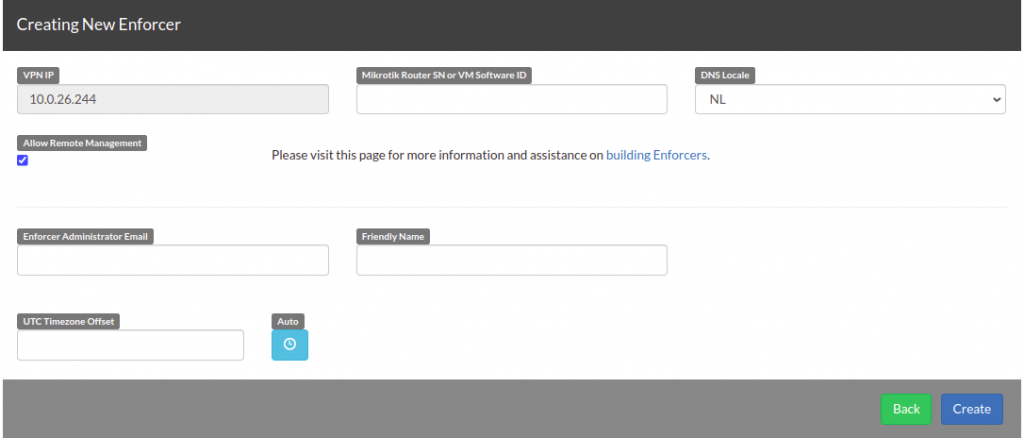
Click on the Create New as per the image below.

Step 3
Fill in all the relevant information as per the image below, then click Create
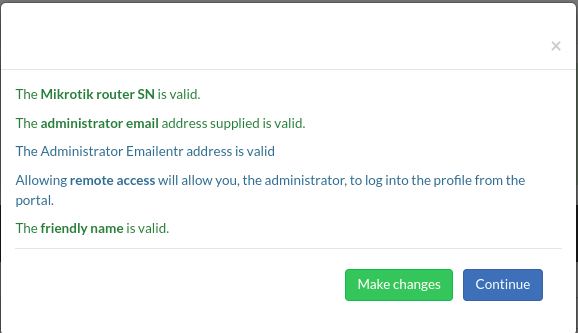
A pop up will appear to confirm all the details. Click continue.
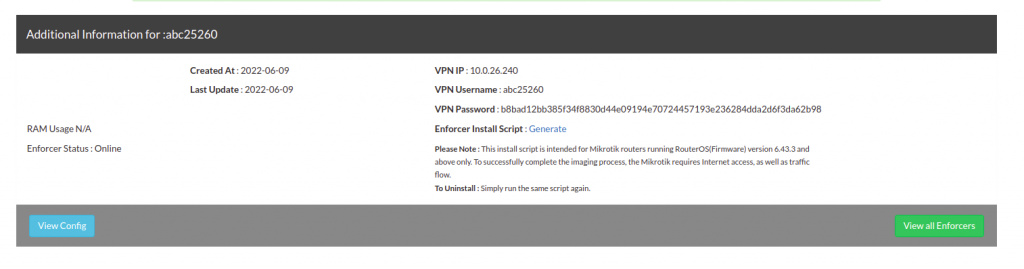
After you have clicked continue your Enforcer will appear as example below.

Step 4
Download the script

Step 5
When you click the down arrow you will be taken to this page, click on Generate.
When you click Generate the script will be downloaded for the MikroTik.
Step 6
Save the file in a place you can easily find. It will be in a format similar to the following, yourlui.rsc, i.e. a unique combination of 8 letters and numbers with the extension .rsc. This is also known as the LUI, or the LucidView Unique Identifier.
Apply the Enforcer Script to MikroTik Router
Connecting to the MikroTik Router
Step 1
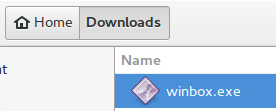
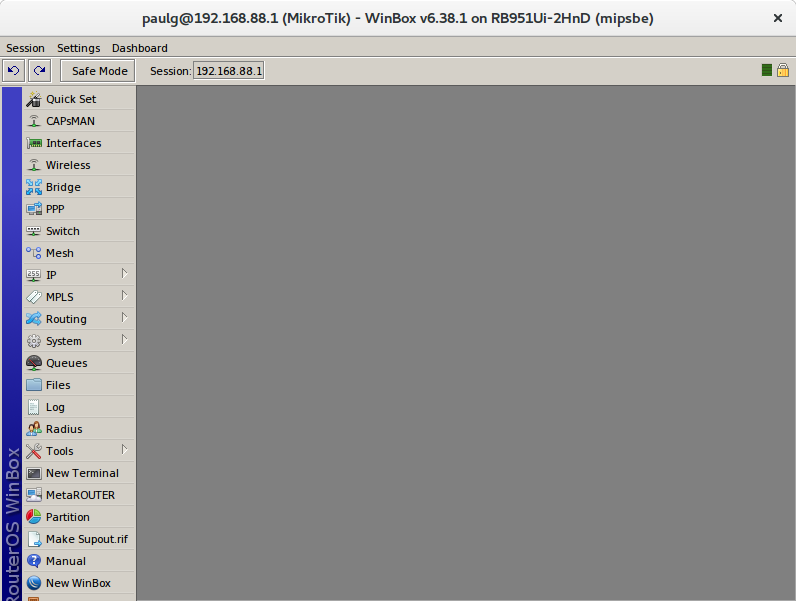
Download the winbox application. This is a utility to configure MikroTiks.
See image below.
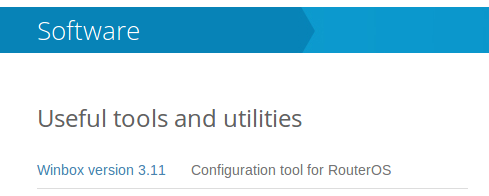
At the date of publishing this guide the latest version is Winbox 3.11
Step 2
Run the application.
Double click on the application to run it. Windows might ask you permission to run the program.
Step 3
Connect the MikroTik to your ethernet port on the laptop or desktop computer. Connecting with either the MAC address or IP address is acceptable for the purposes of this guide.
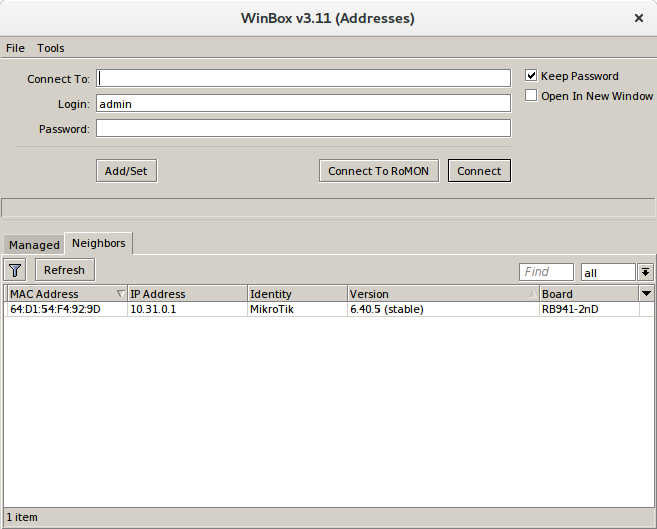
The winbox application should come up as shown above.
If the MAC address or IP address is not shown in the list give it a few seconds to discover the MikroTik or manually enter the correct IP address and credentials.
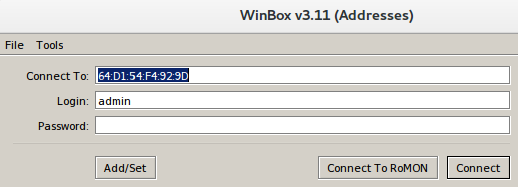
Click on the MAC address so it’s populated the Connect To field with the MAC address as shown above.
Use the correct IP address or MAC address for your Mikrotik as well as the appropriate Login Username and Password.
Step 4
Click connect.
If the window above appears you have successfully opened the configuration interface of the MikroTik.
Uploading the configuration script to the MikroTik Router
Step 1
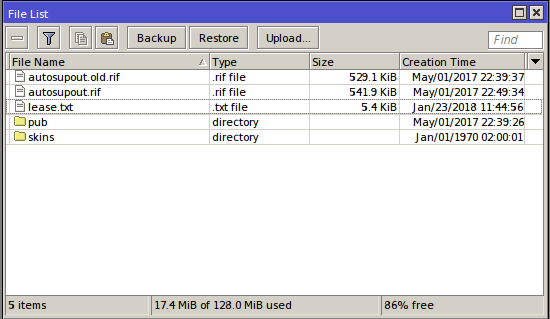
Click on the Files menu icon. These files can be uploaded to the MikroTik.
You may see a few files listed already.
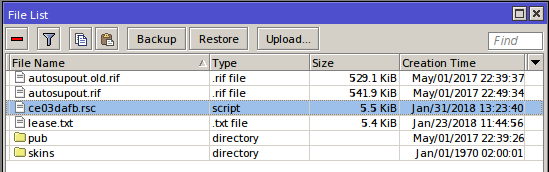
Step 2
Click on the Upload button and upload the file yourlui.rsc (the file with the specific name you downloaded earlier). This is the configuration script allowing the MikroTik to be controlled from the Lucidview Cloud.
Step 3
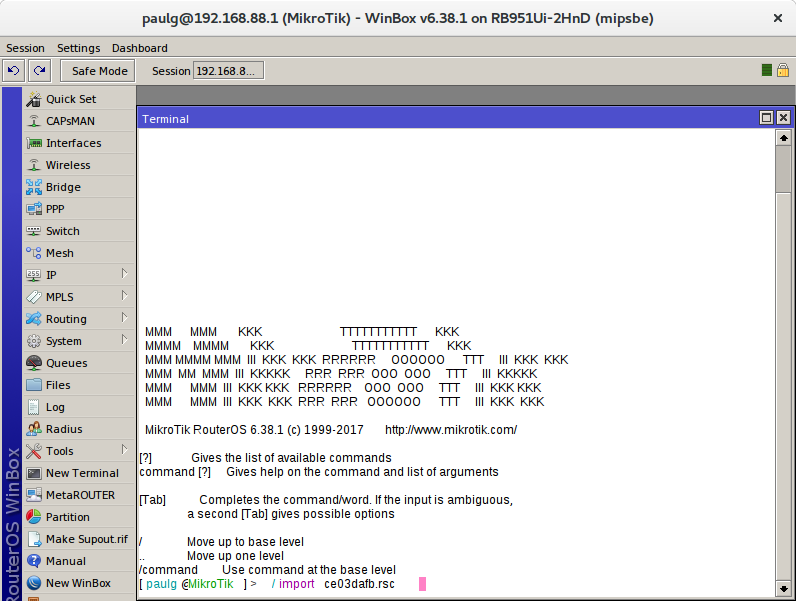
Click on New Terminal.
Run the Enforcer Script
This shows you how to run the script to enable the Mikrotik to communicate with the LucidView cloud.
Step 1
Updating the MikroTik
Before you can run the script the Mikrotik needs to be updated to the latest version. If the version is too old the script will fail and the Enforcer will not work.
Open a new terminal as demonstrated above.
In the terminal execute the command below to update the MikroTik to the latest version.
‘/system package update install’
Step 2
Running the script
Once the Mikrotik has rebooted after performing the update in the terminal, execute the command below.
‘/import ce03dafb.rsc’
(use the filename you downloaded earlier) and press enter.
Observe the screen and note any errors. If there are any errors please do contact us.
If no errors were observed the MikroTik should be configured and ready to go. Please log on to the LucidView Enforcer portal for this profile and confirm that the portal shows the device is online.
Please grant up to a 15 minute delay between running the Enforcer configuration script and checking for its online status.
Special Cases
VLANs
If there are VLANS on your MikroTik, consider adding an intercept per VLAN to direct the incoming DNS requests to the IP address of the Mikrotik in that VLAN.
For example, if you have a VLAN called VLAN1, with the Mikrotik IP on that VLAN configured as 10.31.0.1, add the following rules, one for TCP and another for UDP.
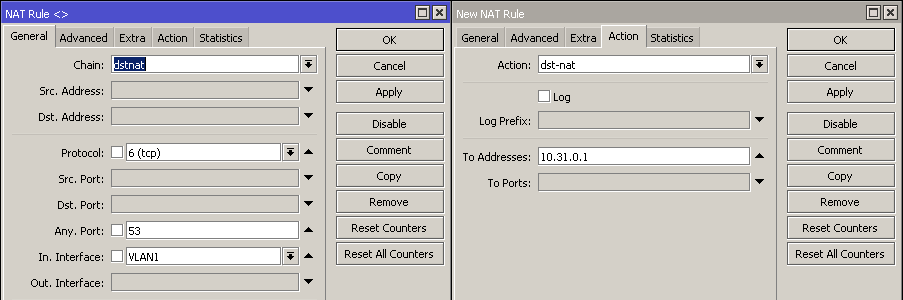
On the left the source, VLAN1, protocol TCP as well as destination port 53 are specified. On the right the action for this rule is a destination NAT to the address 10.31.0.1 on Mikrotik.
Two rules will be required for every VLAN. One rule for TCP, and another to handle UDP. Both UDP and TCP are necessary for DNS to work correctly.
(Please note, that this is also described in more technical detail, in the actual script supplied by the LucidView portal.) Please do contact us if you need assistance.
Test the MikroTik
The MikroTik should now be ready for first time use.
Step 1
Check the connectivity of the MikroTik from the LucidView Portal
In order to see if your device is online click on the Enforcer’s LucidView ID in the Portal (please note this can take up to 15 minutes):
You will be directed to your Device Status.
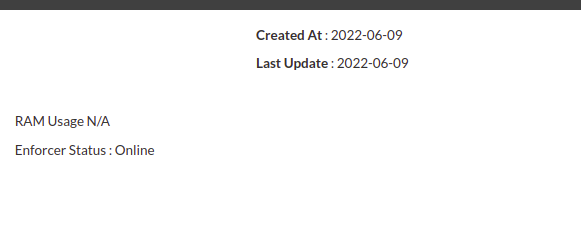
Confirm that the device status indicates Online.
Step 2
Make sure that we are receiving your netflow data.
Login to Enforcer to Configure
Click on login to access the Enforcer, and navigate through its menu to configure the Enforcer Content Filter, IPS,Saturation Manager (content based traffic shaping), reporting, dashboards and traffic flow analysis tool.
For more details on configuring your enforcer please visit this page where details on how to configure each feature can be found.
Enforcer Technical Checklist
Please click on the button below to view a PDF technical checklist.
Enforcer Technical Checklist